The Stunnel tool acts as a proxy service that enables the creation of a secure TLS tunnel for client-server applications lacking inherent encryption capabilities. It is often more efficient to use Stunnel for securing access to a specific application rather than deploying a comprehensive VPN solution.
Stunnel can function in either server or client mode. In client mode, it captures traffic from the client application, encrypts it, and forwards it to the server, where decryption occurs before sending to the intended application. Importantly, this setup doesn’t require any modifications to either the client or server application. Additionally, Stunnel supports client authentication through certificates and is available for both Windows and Linux platforms.
Configuring Stunnel Server on Windows
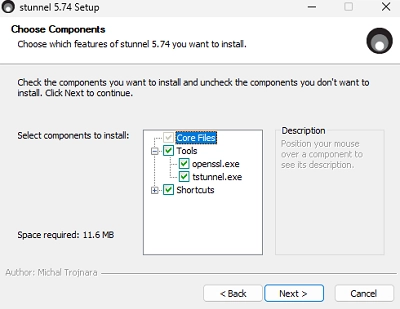
To set up Stunnel on a Windows server, start by downloading the installer from Stunnel’s official website and complete the installation using the default settings, which include openssl.
Next, generate the keys and certificates for the Certificate Authority (CA), server, and clients. Open a command prompt and navigate to the install directory:
cd "C:Program Files (x86)stunnelbin"Follow these steps to create the necessary keys and certificates:
- Generate the CA key:
openssl genpkey -algorithm RSA -out ca.key - Create the CA certificate:
openssl req -new -x509 -key ca.key -out ca.crt -subj "/O=woshubLTD/OU=IT/CN=CA_webserver1.com" - Create a private key for the server:
openssl genpkey -algorithm RSA -out server.key - Generate a CSR for the server certificate:
openssl req -key server.key -new -out server.csr - Sign the server certificate with the root CA:
openssl x509 -req -in server.csr -CA ca.crt -CAkey ca.key -CAcreateserial -out server.crt -days 365 -subj "/O=woshubLTD/OU=IT/CN=server_webserver1.com" - Generate the client’s private key:
openssl genpkey -algorithm RSA -out client.key - Create a CSR for the client certificate:
openssl req -key client.key -new -out client.csr - Sign the client certificate:
openssl x509 -req -in client.csr -CA ca.crt -CAkey ca.key -CAcreateserial -out client.crt -days 365 -subj "/O=woshubLTD/OU=IT/CN=client1_webserver1.com"
Now, move the ca.crt, server.crt, and server.key files to the C:Program Files (x86)stunnelconfig directory.
Edit the stunnel.conf file, and include the following configuration settings:
; Write logs to stunnel.logdebug = infooutput = stunnel.logoptions = CIPHER_SERVER_PREFERENCEoptions = NO_SSLv2options = NO_SSLv3options = NO_TLSv1sslVersion = TLSv1.2sslVersion = TLSv1.3ciphers = ECDHE-RSA-AES256-GCM-SHA384cert = server.crtkey = server.keyCAfile = ca.crt[ITPoral]accept = 192.168.158.144:443connect = 127.0.0.1:80verify=2Ensure the selected port in the accept line is free. Configure Windows Defender Firewall to allow incoming connections on this port:
New-NetFirewallRule -DisplayName "ITPoral_stunnel_443" -Direction Inbound -LocalPort 443 -Protocol TCP -Action AllowAfter that, run Stunnel.exe, monitor the GUI logs for any configuration errors, and debug as necessary.
To run Stunnel service, execute:
"C:Program Files (x86)stunnelbinstunnel.exe" -install "C:Program Files (x86)stunnelconfigstunnel.conf"Start-Service wrapperStunnel Client Configuration Example on Windows
On the client-side, install Stunnel from the same distribution and transfer the ca.crt, client.crt, and client.key files to the C:Program Files (x86)stunnelconfig folder. Then, set up the configuration in stunnel.conf as follows:
[ITPoral]client = yesaccept = localhost:8080connect = 192.168.158.144:443CAfile = ca.crtcert = client.crtkey = client.keyverify=2After saving the configuration file, run Stunnel manually to check for errors. Access the service via localhost:8080 on your browser, and Stunnel will securely redirect the connection.
To improve convenience, you can merge the client certificates and keys into a single file and update the configuration accordingly.
Certificate Management
For revoking compromised certificates, utilize the CRLpath option in the server configuration to indicate where the revoked certificates are stored. Similarly, use the CApath option to specify the directory containing the allowed certificates.