Prerequisites
To follow this guide, you only need VS Code and Docker installed on your PC or Mac. If you work with Linux, you also must install the Docker Compose plugin.
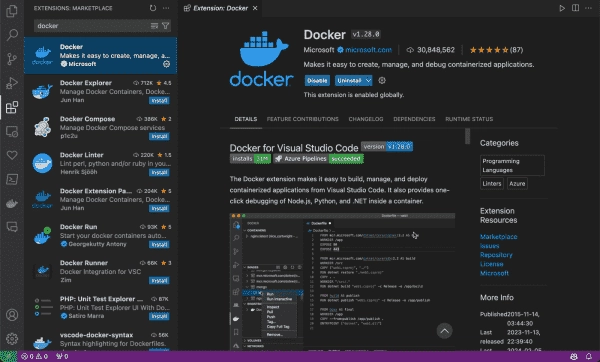
Install Docker extension
Begin by adding the Docker extension to your VS Code which is provided by Microsoft. You can do this by moving to the Extensions view. The shortcuts are Ctrl+Shift+X for Windows users and Cmd+Shift+X for those using macOS. Once you’re there, search for the Docker extension and install it.
Install the Docker extension in VS Code
Create a Project
Next, create a directory for your demo project to follow along with this blog. Proceed to add an index.php file and copy the following code:
<p>Welcome, John Doe</p>
<h2>Add Docker files to the Workspace</h2>
<p>Add essential Docker files (e.g., Dockerfile, docker-compose.yml, and .dockerignore) to your project. For those who don’t know, Dockerfile defines the instructions for building a container image for your app. The docker-compose.yml file defines and runs multi-container Docker applications. The .dockerignore file specifies which files and directories should be excluded when creating the container image.</p>
<p>To add the Docker files to your project, follow these steps:</p>
- Invoke the command palette of VS Code by pressing the Ctrl+Shift+P keys (CMD+Shift+P on Mac), then type the Docker: Add Docker Files to the Workspace, and hit Enter.
- When prompted, select your application platform from the list. I am using PHP, so I chose Other.
- When prompted to include the optional Docker compose files, select Yes or No, depending on your requirement. I will choose Yes.
- You will see the new Docker files added to your project. Now, open the Dockerfile in VS Code and paste this code:
FROM php:8.2-apache
COPY . /var/www/html/
WORKDIR /var/www/html/
CMD ["apache2-foreground"]
Here is an explanation of the Dockerfile:
- The FROM php:8.2-apache command specifies the base image for the container, which is the official PHP 8.2 Apache image.
- The COPY . /var/www/html/ command copies the contents of the current directory to the /var/www/html/ directory in the container.
- The WORKDIR /var/www/html/ command sets the working directory to /var/www/html/.
- The CMD [“apache2-foreground”] command sets the command to run the Apache web server in the foreground.
You can also invoke IntelliSense by pressing the Ctrl+Space keys while editing these Docker files, which is handy if you are new to Docker development.
- Next, from the VS Code Explorer open the docker-compose.yml file and paste this code:
version: '3.1'
services:
php:
container_name: php-app
build:
context: .
dockerfile: Dockerfile
ports:
- 80:80
This Docker compose file will help you build and run your app in a container directly from VS Code GUI, so you don’t need to type any commands manually. Let’s quickly understand the docker-compose.yml file.
- In the services section, you can define multiple containers for your application. In this case, we declared a single service named php.
- The build section defines how to build the container image. The context specifies the path to the build context, which is the current directory represented by a period (.) in VS Code, and the dockerfile specifies the name of the Dockerfile to use.
- The ports field maps port 80 of the container to port 80 of the host, which makes the containerized application accessible at http://localhost/ URL on the Docker host itself.
Run the container
Make sure the Docker service is running on your computer. To start your container, right-click the docker-compose.yml file and choose the Compose Up command from the context menu. This command will build, create, start, and attach to containers for the service defined in your docker-compose.yml.
The context menu also provides additional options such as Compose Down (which halts the container), Compose Restart (which restarts the container), and Compose Up – Select Services (which launches a specific service when there are multiple services in the Docker compose file). The output of tasks run when any context menu option is chosen is shown in the integrated terminal.
When the container started message appears in the terminal, your web application is accessible via the http://localhost URL.
Your running container can then be viewed in Docker Desktop.
Viewing containers in Docker Desktop
Run Docker commands
You can manually run the Docker commands in the integrated terminal if you don’t want to use Docker Compose. For example, to build a container image for your app and run it, use these commands in the integrated terminal:
docker build --tag app .
docker run --detach --publish 80:80 app
Furthermore, the command palette in VS Code allows you to run most of the Docker commands. Suppose you want to inspect the running container. To do that, invoke the command palette, then start typing the Docker inspect keyword in the command box. You will see the list of available commands. Select the Docker Containers: Inspect command, as shown in the screenshot.
Running Docker commands with Visual Studio’s command palette
Select the app and then app-php when prompted, and you will see detailed information about the container.
Inspecting a Docker container in VS Code
Docker Explorer view
The Docker extension adds a Docker Explorer view with separate panes in VS Code. In this view, you can manage various Docker assets such as containers, images, networks, and volumes.
Docker Explorer panes in VS Code
The Docker VS Code extension features three central panes:
- Containers pane shows all the running containers on the Docker host. Click CONTAINERS > app and the right-click app-php. The context menu allows you to perform various operations on the container, such as View Logs, Attach Shell, Inspect, Open in Browser, Stop, Restart, and Remove.
- Images pane displays all container images on your Docker host. The context menu gives various commands to run, inspect, pull, push, tag, and remove the container image.
- Registries pane – In the Registries pane, you can connect to container registries, such as Docker Hub, GitHub, Azure, etc. Once connected, you can pull or push container images seamlessly straight from VS Code.
- Networks pane allows you to manage and inspect Docker networks.
- Volumes pane – It shows all the Docker volumes, and you can prune or remove unnecessary volumes directly from the VS Code.