The default font collection on Ubuntu 16.04 leaves a lot to be desired. In fact, it was the case with much of Web (what with the very aggressively priced fonts and all that) until Google Web Fonts came along. We now have access to hundreds of font families through Google Fonts, fitting work as diverse as programming, type setting, and designing.
It’s natural to want to extend your Ubuntu system to include some, or all, Google Fonts so that you can enjoy the same fonts offline in your desktop programs as well.
Excited to get started? So are we!
There are two ways to install Google Web Fonts on Ubuntu 16.04.
Installing Google Fonts on Ubuntu 16.04 by Previewing in Browser
If you just want a couple of extra fonts that you know very well, or perhaps there’s a font you stumbled on, a much faster way to install it is to directly download it you your system.
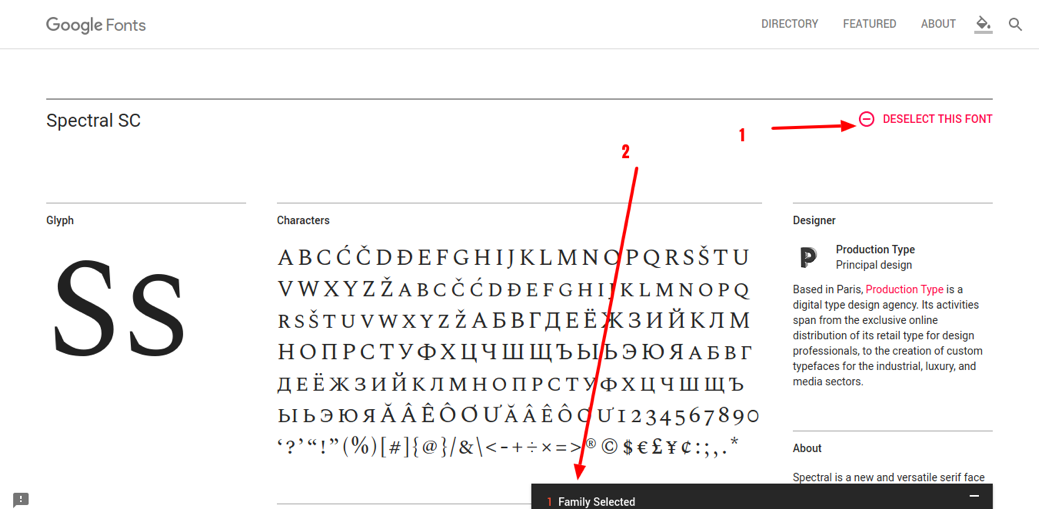
Let’s say you happened to chance upon the delightful Spectral SC font. To save it offline, click on the plus-sign button towards the top right, which says “Select this font”. As soon as you do that, the selected font will show in a popup bar at the bottom. The bar will be minimized by default:
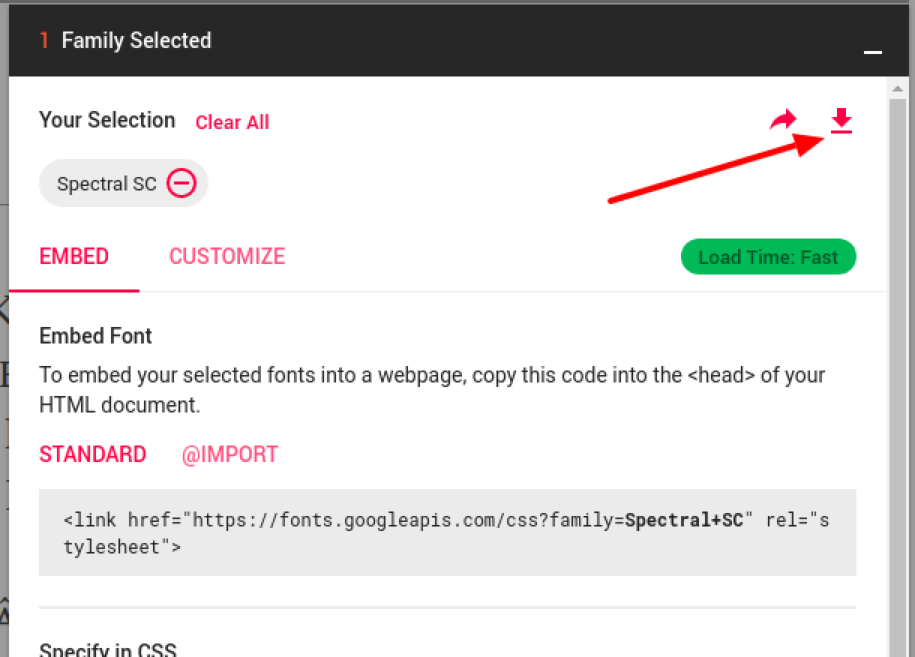
Once done, press the red Download icon to download a zipped version of all the font files and licenses:
Unzip the file you just downloaded, and you’ll see that it has a folder with a few .ttf files. You need to move these fonts to your system font folder.
The easiest way to do that is to go to your home directory. Then make sure that the hidden directories are made visible (you might have to press Ctrl+h) for that. You need to copy all the .ttf files into the .fonts folder.
If there’s no .fonts folder in your home directory, create one and then copy the files.
With this, the Spectral SC Google font is installed on your system and is ready to use! In case the program you are going to use to access this font is already running, restart it so that it can access the font from the system pool.
Installing a lot of Google Fonts on Ubuntu 16.04 the Easy Way
Admittedly, the above method works only when you have a couple of fonts to be installed at best. Imagine having to unzip, navigate through, and move hundreds of font files to your .fonts directory – it can easily take an entire day!
Thankfully, there’s a much better solution available. In the Ubuntu repositories, there’s a package called typecatcher that allows you to preview and download Google Fonts easily to your system.
To do that, go to your terminal and get root access first:
$ sudo -i
Enter your system password when prompted, and ensure that you have root access on the command line. With this, it’s time to install:
# apt install typecatcher
Once done, you can access it from the app search menu.
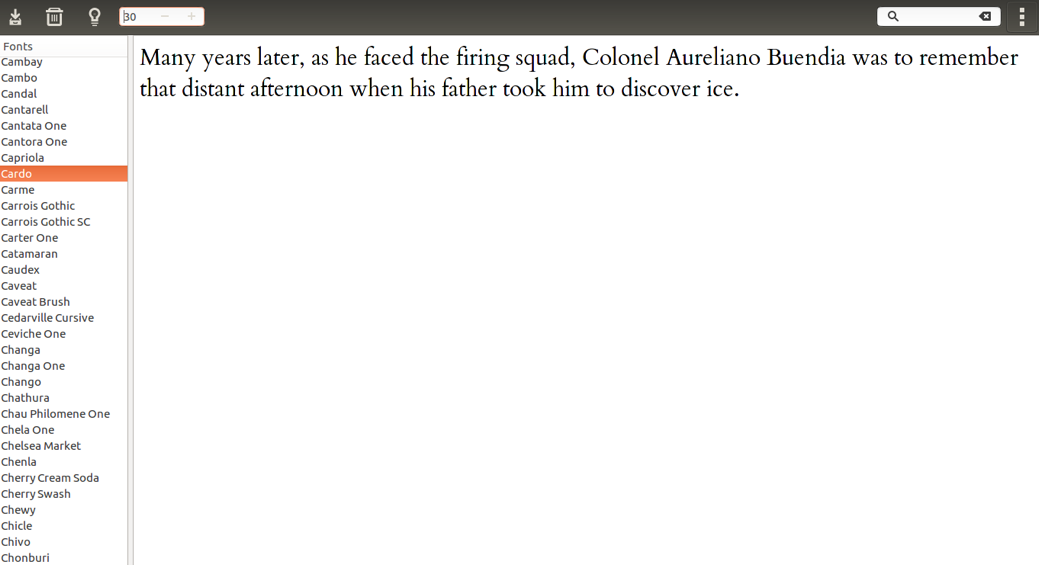
The typecatcher software lists all the available Google fonts on the left. Once you click on a font, its preview will load on the screen. If you like what you see, you can use the first button in the menu bar to download the font to your system:
The second button allows you to uninstall a font you had previously installed.
With these tools in your arsenal, you’re all set to say goodbye to font blues on Ubuntu 16.04 and enjoy many fine fonts using Google Web Fonts!