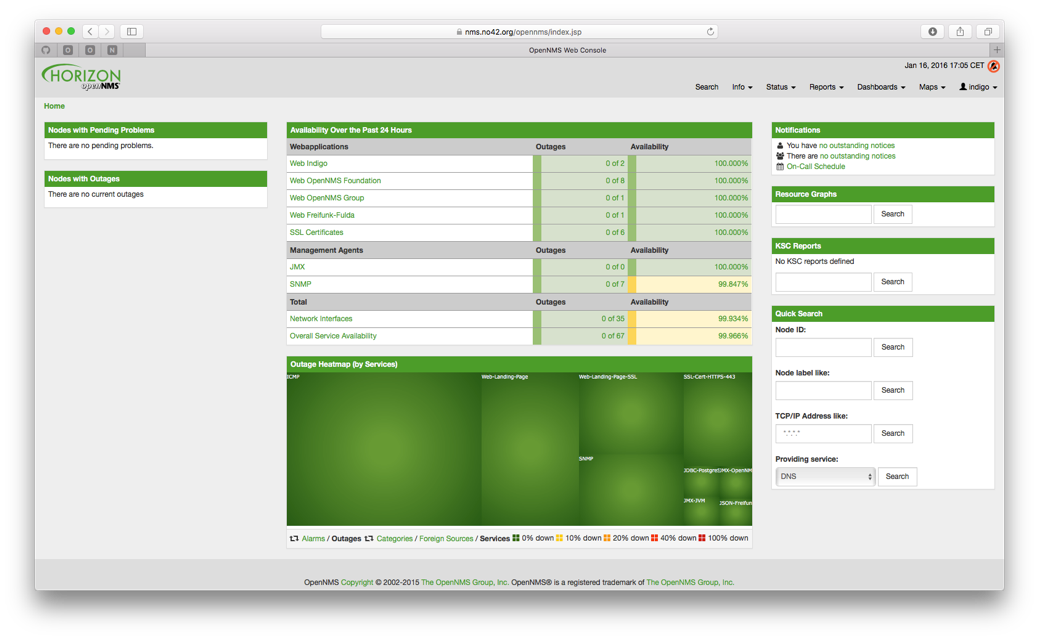
When it comes to enterprise-grade network and service monitoring, there are few challengers to OpenNMS. It provides a simple web-based interface to visually monitor different parts of your service, and comes with a REST API that allows quick integration with virtually any system you might have.
Installing OpenNMS on Ubuntu takes a bit of work. It depends on Java 8 and PostgreSQL database, which of course means you’ll need to have these installed and configured properly. Let’s look at them step by step.
Installing Java 8 on Ubuntu 16.04
For Java 8, you have the choice between the standard OpenJDK or the Oracle JDK. While OpenJDK works really well, it isn’t a direct replacement for the Oracle JDK when it comes to all the features. Therefore, we suggest you install Oracle JDK on your system. Here’s how to go about it.
The Oracle Java has no direct packages in the Ubuntu universe, which shouldn’t come as a surprise. You can, however, add Oracle’s PPA to your system and get access to it:
$ sudo add-apt-repository ppa:webupd8team/java
Enter your system password when prompted. Once the PPA has been added, follow the usual steps of updating the apt repository.
$ sudo apt update
And then install Java 8:
$ sudo apt install oracle-java8-installer
It’s a decent-sized package, and may take a while. Once you’re done, check that you have the right version by invoking the Java compiler and asking to see the version:
$ javac -version
If you see something like `javac 1.8.0_151` in the output, you’re golden. After this, it’s possible that you may end up with two java installations – one that comes with the OpenJDK and the one you just installed. And in case OpenJDK has been set as default, you won’t be able to use Oracle Java when you give a command like `javac`.
To change that, we need to update alternatives for the java command:
$ sudo update-alternatives –config java
There are 2 choices for the alternative java (providing /usr/bin/java).
Selection Path Priority Status
————————————————————
0 /usr/lib/jvm/java-8-oracle/jre/bin/java 1081 auto mode
1 /usr/lib/jvm/java-8-openjdk-amd64/jre/bin/java 1081 manual mode
* 2 /usr/lib/jvm/java-8-oracle/jre/bin/java 1081 manual mode
Press <enter> to keep the current choice[*], or type selection number:
Press the number that corresponds to the Oracle Java (in this case, 2), and you’ve updated the defaults.
One final thing we need to do before we call it a day. The program that run on Java on Ubuntu expect a variable called JAVA_HOME to be available. This variable points to the binary file that contains the runtime for Java.
To accomplish this, open the the .bashrc file in your home directory and add the following line to the end of it:
JAVA_HOME=”/usr/lib/jvm/java-8-oracle”
Now, from the next time you log in, this variable is set. To make it available in the current terminal straight away, do this:
$ source ~/.bashrc
With this, Oracle Java 8 is completely installed and working on your system.
Installing PostgreSQL on Ubuntu
The PostgreSQL version needed for OpenNMS is 9.1 and higher. Thankfully, these packages are included in the apt repository, so there’s nothing special we need to do here:
$ sudo apt install postgresql-9.4
If you happen to have version 9.1 only available, that will also do.
Once PostgreSQL is installed, make sure it’s up and running:
~$ service postgresql status
-
postgresql.service – PostgreSQL RDBMS
Loaded: loaded (/lib/systemd/system/postgresql.service; enabled; vendor preset: enabled)
Active: active (exited) since Tue 2017-12-05 21:47:12 IST; 1 day 15h ago
Process: 1654 ExecStart=/bin/true (code=exited, status=0/SUCCESS)
Main PID: 1654 (code=exited, status=0/SUCCESS)
CGroup: /system.slice/postgresql.service
Dec 05 21:47:12 typhus systemd[1]: Starting PostgreSQL RDBMS…
Dec 05 21:47:12 typhus systemd[1]: Started PostgreSQL RDBMS.
You can see that the status is “Active.”
Well, finally we’re all set to install OpenNMS.
Installing OpenNMS on Ubuntu 16.04
OpenNMS has created an installation script that makes it straightforward to install on Ubuntu. First, download the script:
$ curl -L https://github.com/opennms-forge/opennms-install/archive/1.1.tar.gz | tar xz
Then run the script inside the directory:
$ cd opennms-install-1.1
$ bash bootstrap-debian.sh
Follow the instructions on the screen and pretty soon the system will be installed.
If you want to see the web version, go here for more information.